Our church had a great tribute to Martin Luther King Jr. yesterday. Here is a great reminder that today is not just a day off of work and school.
MLK Opener from BC SPD 4 on Vimeo.

Monday, January 21, 2013


Thursday, January 17, 2013
Skinny Potato Soup
Have I mentioned how much I love Skinnytaste.com? If you haven't checked out this blog before, I highly encourage you to stop by. Gina's recipes are easy, healthy and most of them don't require a lot of ingredients. They are also oh-so-good! If you know me, you know I love soups in the winter and today definitely qualifies as winter. Anyway... this potato soup is so yummy, you don't even realize it's healthy!
Skinny Potato Soup (adapted from here)
2 russet potatoes, washed and dried
1 bag of frozen cauliflower
2 1/2 cups of fat free chicken broth (this is a cup more than she calls for, but I wanted it a bit thinner)
2 cups 1% reduced-fat milk
1/2 cup light sour cream
1/3 cup reduced-fat shredded sharp cheddar cheese
A handful of green onions chopped (I used 5)
Bacon cooked and crumbled (you can use turkey bacon)
Salt and pepper to taste
Directions
1. Place potatoes on a microwave safe plate and use a fork to poke holes in them. Microwave them for about 6-7 minutes and then flip them over and microwave for another 6-7 minutes. Once the potatoes cool, peel the skin off and set aside.
2. Fill a large pot with enough water to cover your frozen cauliflower. Boil and cook until soft.
3. Drain the water and then add potatoes, milk, sour cream and half of the chicken broth.
4. Use an immersion blender to puree everything. (I actually do not own an immersion blender, so I poured the contents of the pot into my regular blender, pureed it and then poured it back in the pot... yes this did make for one more thing to clean, but it was worth it)
5. While cooking on low, mix in the cheese and chopped green onions. Combine until well blended. Here is where you can add the rest of the chicken broth to get the consistency to your liking. I think I ended up using about 2/3 of a carton.
6. Season with salt and pepper to taste and serve topped with more cheese, green onion, bacon and low fat sour cream- YUM!

Skinny Potato Soup (adapted from here)
2 russet potatoes, washed and dried
1 bag of frozen cauliflower
2 1/2 cups of fat free chicken broth (this is a cup more than she calls for, but I wanted it a bit thinner)
2 cups 1% reduced-fat milk
1/2 cup light sour cream
1/3 cup reduced-fat shredded sharp cheddar cheese
A handful of green onions chopped (I used 5)
Bacon cooked and crumbled (you can use turkey bacon)
Salt and pepper to taste
Directions
1. Place potatoes on a microwave safe plate and use a fork to poke holes in them. Microwave them for about 6-7 minutes and then flip them over and microwave for another 6-7 minutes. Once the potatoes cool, peel the skin off and set aside.
2. Fill a large pot with enough water to cover your frozen cauliflower. Boil and cook until soft.
3. Drain the water and then add potatoes, milk, sour cream and half of the chicken broth.
4. Use an immersion blender to puree everything. (I actually do not own an immersion blender, so I poured the contents of the pot into my regular blender, pureed it and then poured it back in the pot... yes this did make for one more thing to clean, but it was worth it)
5. While cooking on low, mix in the cheese and chopped green onions. Combine until well blended. Here is where you can add the rest of the chicken broth to get the consistency to your liking. I think I ended up using about 2/3 of a carton.
6. Season with salt and pepper to taste and serve topped with more cheese, green onion, bacon and low fat sour cream- YUM!

Friday, January 11, 2013
Dominating Disney: How to beat the crowds and get the most out of your day
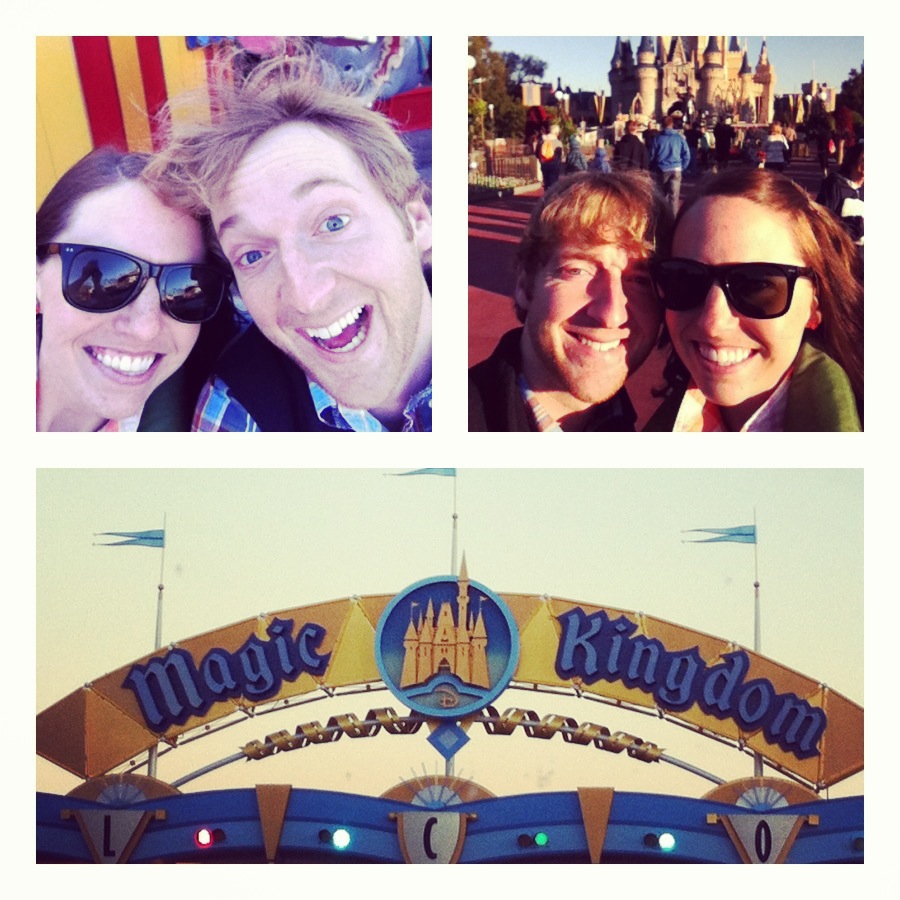
Right after Christmas, husband and I headed down to Orlando with his parents and brother for a few days. This has been a biennial tradition to go on the years that we are not in Texas. As a self-proclaimed lover of all things Disney, I can honestly say that I enjoy it each and every time. The only thing about going this week of the year, is that it is hands down the most crowded time of year to go. I'm talking restaurants, outlets, parks, roads- everywhere. Usually, we try to spend a day at Magic Kingdom, just the two of us to celebrate my birthday (I know I sound like I'm 10). To most people, going to Magic Kingdom a couple days after Christmas sounds like torture, but I can honestly say that we had one of the most enjoyable days we've ever had there. I wanted to share some tips of what we did so that hopefully your next trip will be a spoon full of sugar.
1. Download the Disney Undercover Tourist free app to your iPhone (if you have one). They may have an android version as well, but I haven't looked. This nifty app includes all 4 Disney parks and will tell you the ride wait times and parade times. I found the wait times to be pretty darn accurate.
2. Buy your tickets online ahead of time and either have them mailed to you or pick them up at will call. There was quite the line to buy tickets at the park.
3. Pack snacks for the day. I brought a few granola bars and packs of crackers for the husband and me. You can also bring in an empty water bottle and fill it up in the park at a water fountain (not the most sanitary thing, I know, but it'll save you $5). We snacked enough that we were able to eat a later lunch and and only pay for one real meal in the park. Obviously, you'll need more snacks depending on the size of your family.
4. Go EARLY. I'm talking, set your alarm and be at the park gate by 7:50 (when they open at 8). Make sure you allow about 20 minutes before that to pay for parking, park and take the tram from the parking lot to the gate. Now, you are ready to go when they open the gate (along with several hundred other people). Don't think you're the only one with this brilliant idea. But this still beats the tens of thousands that will pour through the gates as the day goes on.
6. Decide beforehand where you want to go first. We headed straight to Fantasyland, because it's just been renovated and we knew that it'd be a popular spot pretty quickly. We were able to ride all of the nostalgic little kid rides without having to wait longer than 5 min.
7. Now is when you'll need to start planning your fast passes. In case you're not familiar with this, most of the popular rides have what's called a fast pass. There are machines next to the rides that you insert your park ticket into and it spits out a separate ticket that tells you what time to come back to that ride and you won't have to wait in line. Each person is only allowed to have one fast pass at a time and you have to come back in the window of time it states.
The return times get later and later as the day goes on (obviously) so it's better to start getting them when the lines just start getting a little long (around 9:30 or so). We would get a fast pass for one ride and meanwhile, head to another maybe less popular ride where we would only have to wait around 10 minutes (because it's still fairly early). We would return to our fast pass ride as soon as it allowed us to and that enabled us to get more fast passes quicker (i.e. if it says to return between 10:30 and 11:30, we would get to the ride at 10:28). As soon as we rode it, we would head to get another fast pass and repeat the process.
8. The least crowded area of the park has got to be Adventureland. Because of this, we headed over there once the park started getting really crowded while we were waiting for our fast pass times for other rides.
9. Our longest fast pass delay (meaning time between getting the pass and using it) of the day was for Space Mountain, because this has got to be the most popular ride in the park. We got the fast passes around 1pm to return at 4pm. By the time we got back to the ride at 4pm, the wait time was 180 minutes. 3 HOURS to ride a 2 minute ride! We thought briefly about selling our passes to someone in the back of the line but I'm pretty sure there are rules against that...
10. A great ride to kill time on is the train that goes all the way around the park. There is rarely a wait. It's a great break where you can sit down and go around the entire park for as long as you want.
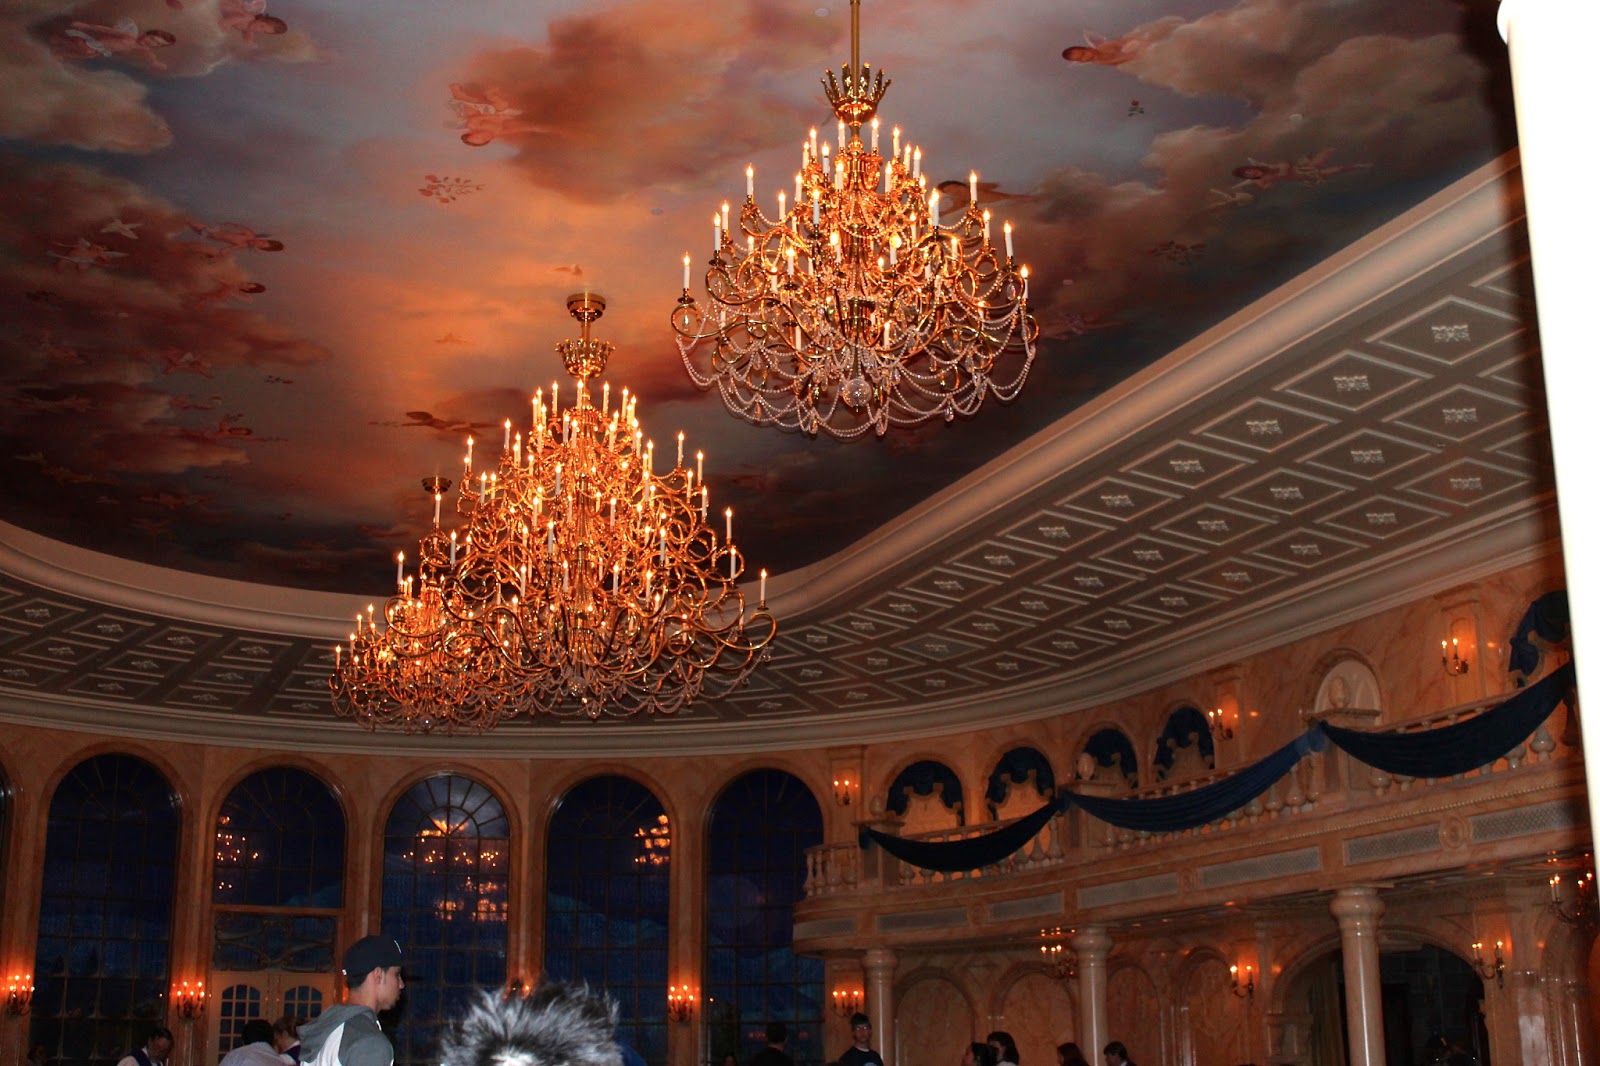
11. We ate lunch at the new restaurant in Fantasyland and this was probably the longest wait we had all day which was still only about 30 minutes. Eating around 1:30 or 2 will still be less crowded than trying to eat at noon.
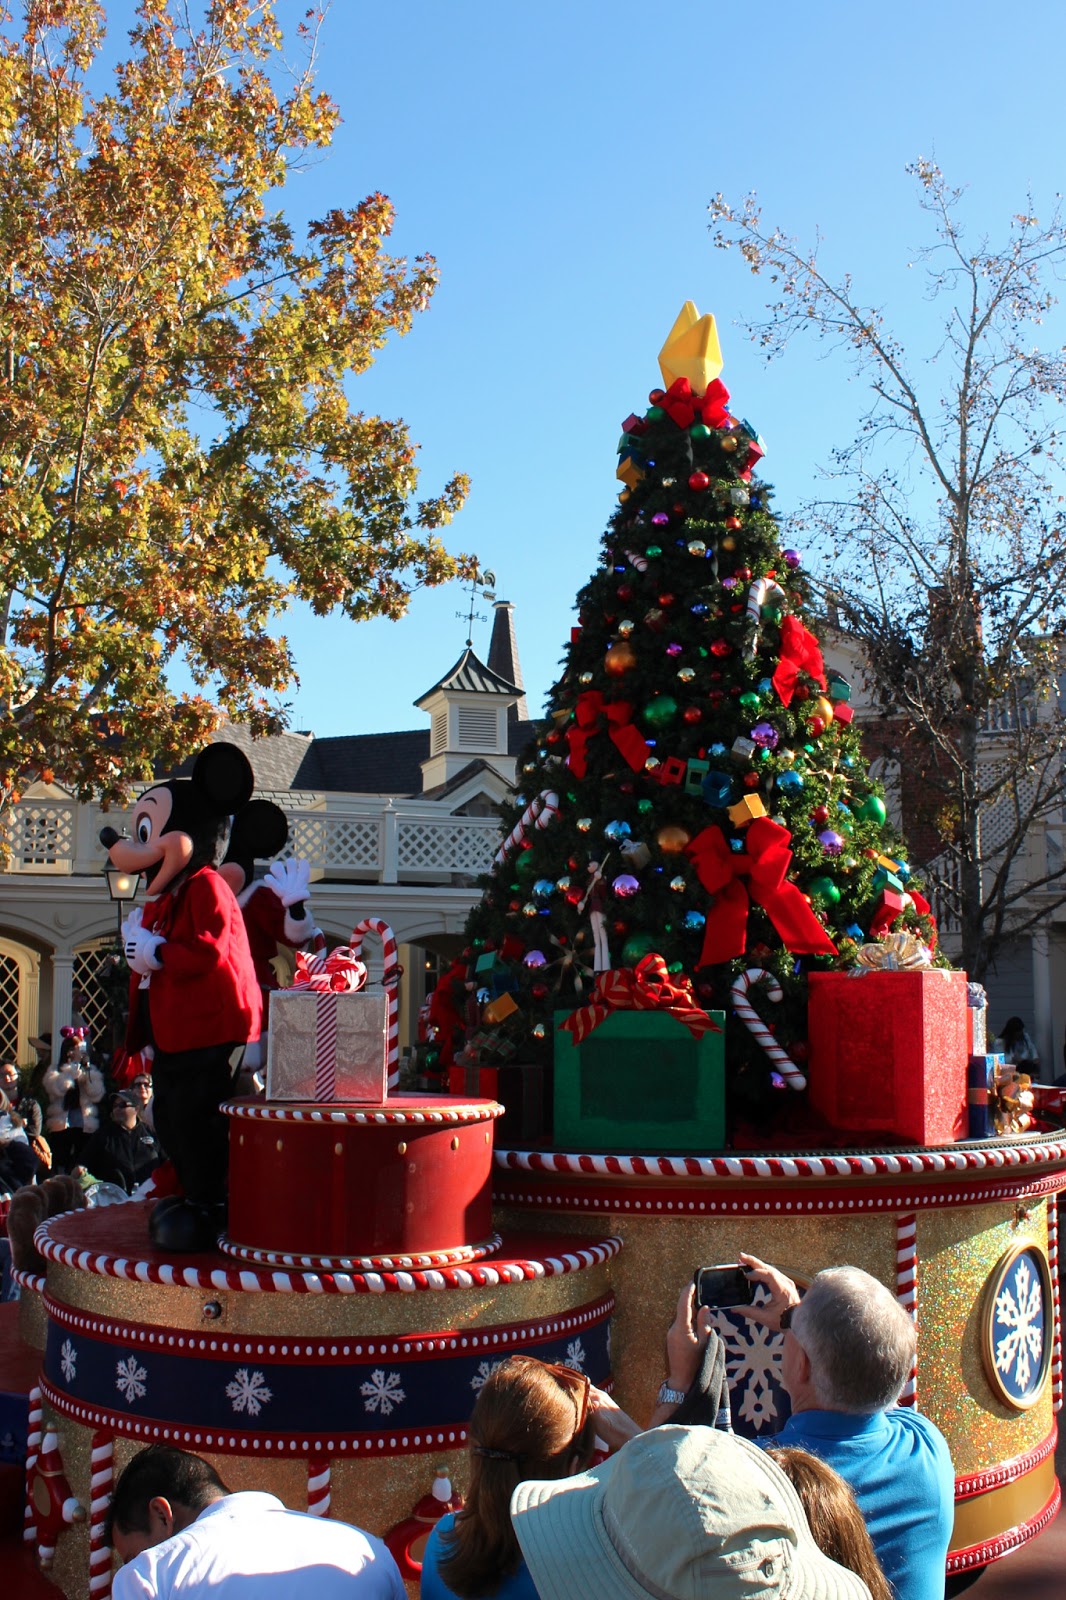
12. When we finished lunch, it was time to head over and find a parade spot. Liberty Square has some great viewing spots and you can sit on the wall.
13. By the time the parade was over, we headed back over to Tomorrowland as our Space Mountain time was nearing. I believe the most underrated ride in the entire park has got to be the People Mover. You basically sit in this little compartment and it takes you along this above ground track around Tomorrowland, including inside the rides. So basically, you get to sit down for a good 5-10 minutes with your feet up and do some great people-watching. And the wait was never longer than 10 minutes. We rode it several times.
14. By that time, it was 4pm and we waltzed right into Space Mountain past all of the people wasting 3 hours of their life and had to wait maybe 5-10 minutes before we could ride.
15. After that, we trekked it back over to Splash Mountain to get a fast pass and finish out the day. As we waited for our time, we looked around some stores, sat down, had some ice cream (ok maybe this was only me) and watched how soaked people got on the ride. Tip: If you sit in the back of the "log", you won't get nearly as wet.
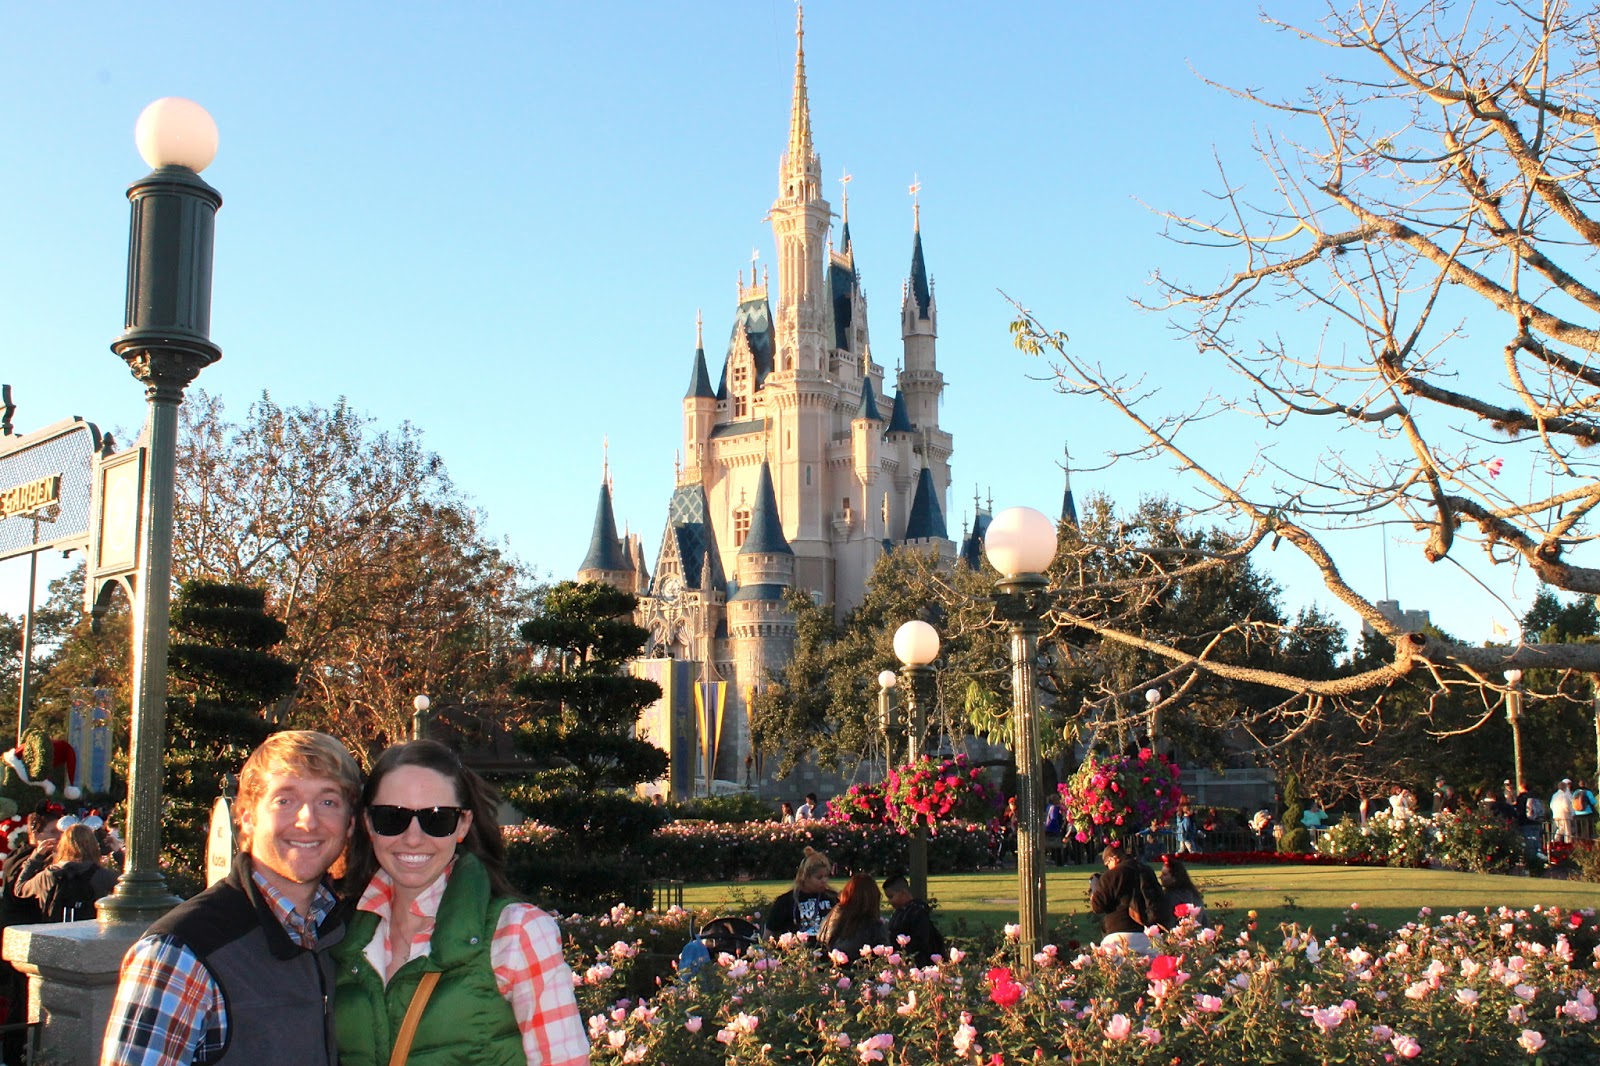
16. Now that it was dark, we watched them light the Christmas lights on the castle, took some pictures and strolled on down Main Street to head back to the parking lot feeling extremely accomplished as we got to ride everything (some even a couple times) without waiting longer than 15 minutes in spite of the fact that the park was probably at capacity around noon.
Now obviously, your day will look different if you have kids with you, but you can still use many of the same tips. With kids, I would still recommend riding all of the Fantasyland rides first and then tracking down your favorite princess or character for a picture and autograph. If you choose to take your little princess to the Bippity Boppity Boutique I recommend bringing her own princess dress, because they are ridiculously expensive to buy them there.
So, I hope you learned something new that will make your next trip to Disney as magical as it should be. This was specifically for Magic Kingdom, but you can visit any of the other 3 parks in the same way as they all have fast passes. If you have your own tips, feel free to share them in the comment section! For more pictures from our day, click here.

1. Download the Disney Undercover Tourist free app to your iPhone (if you have one). They may have an android version as well, but I haven't looked. This nifty app includes all 4 Disney parks and will tell you the ride wait times and parade times. I found the wait times to be pretty darn accurate.
2. Buy your tickets online ahead of time and either have them mailed to you or pick them up at will call. There was quite the line to buy tickets at the park.
3. Pack snacks for the day. I brought a few granola bars and packs of crackers for the husband and me. You can also bring in an empty water bottle and fill it up in the park at a water fountain (not the most sanitary thing, I know, but it'll save you $5). We snacked enough that we were able to eat a later lunch and and only pay for one real meal in the park. Obviously, you'll need more snacks depending on the size of your family.
4. Go EARLY. I'm talking, set your alarm and be at the park gate by 7:50 (when they open at 8). Make sure you allow about 20 minutes before that to pay for parking, park and take the tram from the parking lot to the gate. Now, you are ready to go when they open the gate (along with several hundred other people). Don't think you're the only one with this brilliant idea. But this still beats the tens of thousands that will pour through the gates as the day goes on.
6. Decide beforehand where you want to go first. We headed straight to Fantasyland, because it's just been renovated and we knew that it'd be a popular spot pretty quickly. We were able to ride all of the nostalgic little kid rides without having to wait longer than 5 min.
7. Now is when you'll need to start planning your fast passes. In case you're not familiar with this, most of the popular rides have what's called a fast pass. There are machines next to the rides that you insert your park ticket into and it spits out a separate ticket that tells you what time to come back to that ride and you won't have to wait in line. Each person is only allowed to have one fast pass at a time and you have to come back in the window of time it states.
The return times get later and later as the day goes on (obviously) so it's better to start getting them when the lines just start getting a little long (around 9:30 or so). We would get a fast pass for one ride and meanwhile, head to another maybe less popular ride where we would only have to wait around 10 minutes (because it's still fairly early). We would return to our fast pass ride as soon as it allowed us to and that enabled us to get more fast passes quicker (i.e. if it says to return between 10:30 and 11:30, we would get to the ride at 10:28). As soon as we rode it, we would head to get another fast pass and repeat the process.
8. The least crowded area of the park has got to be Adventureland. Because of this, we headed over there once the park started getting really crowded while we were waiting for our fast pass times for other rides.
9. Our longest fast pass delay (meaning time between getting the pass and using it) of the day was for Space Mountain, because this has got to be the most popular ride in the park. We got the fast passes around 1pm to return at 4pm. By the time we got back to the ride at 4pm, the wait time was 180 minutes. 3 HOURS to ride a 2 minute ride! We thought briefly about selling our passes to someone in the back of the line but I'm pretty sure there are rules against that...
10. A great ride to kill time on is the train that goes all the way around the park. There is rarely a wait. It's a great break where you can sit down and go around the entire park for as long as you want.
11. We ate lunch at the new restaurant in Fantasyland and this was probably the longest wait we had all day which was still only about 30 minutes. Eating around 1:30 or 2 will still be less crowded than trying to eat at noon.
12. When we finished lunch, it was time to head over and find a parade spot. Liberty Square has some great viewing spots and you can sit on the wall.
13. By the time the parade was over, we headed back over to Tomorrowland as our Space Mountain time was nearing. I believe the most underrated ride in the entire park has got to be the People Mover. You basically sit in this little compartment and it takes you along this above ground track around Tomorrowland, including inside the rides. So basically, you get to sit down for a good 5-10 minutes with your feet up and do some great people-watching. And the wait was never longer than 10 minutes. We rode it several times.
14. By that time, it was 4pm and we waltzed right into Space Mountain past all of the people wasting 3 hours of their life and had to wait maybe 5-10 minutes before we could ride.
15. After that, we trekked it back over to Splash Mountain to get a fast pass and finish out the day. As we waited for our time, we looked around some stores, sat down, had some ice cream (ok maybe this was only me) and watched how soaked people got on the ride. Tip: If you sit in the back of the "log", you won't get nearly as wet.
16. Now that it was dark, we watched them light the Christmas lights on the castle, took some pictures and strolled on down Main Street to head back to the parking lot feeling extremely accomplished as we got to ride everything (some even a couple times) without waiting longer than 15 minutes in spite of the fact that the park was probably at capacity around noon.
Now obviously, your day will look different if you have kids with you, but you can still use many of the same tips. With kids, I would still recommend riding all of the Fantasyland rides first and then tracking down your favorite princess or character for a picture and autograph. If you choose to take your little princess to the Bippity Boppity Boutique I recommend bringing her own princess dress, because they are ridiculously expensive to buy them there.
So, I hope you learned something new that will make your next trip to Disney as magical as it should be. This was specifically for Magic Kingdom, but you can visit any of the other 3 parks in the same way as they all have fast passes. If you have your own tips, feel free to share them in the comment section! For more pictures from our day, click here.
Tuesday, January 8, 2013
Turkey Pasta E Fagioli
Whether you call it Pasta E Fagioli (fazh-e-ohl-eh) or Pasta Fazool, this hearty soup hits the spot on a cold day. Pasta E Fagioli literally means pasta with beans, but this version includes ground turkey to make it a bit heartier. This recipe is actually a knock-off of Olive Garden's, but I did tweak it a bit (shocking, I know). It is originally from here. The Italian in me loves trying new versions of old classics and this was delizioso. It was oh-so-good and made plenty! I actually was able to freeze half of it for later, so this would be great if you're cooking for a crowd or looking to make some freezer meals.
Turkey Pasta E Fagioli
- 1 pound lean ground turkey breast
Directions
1. Brown the ground turkey in a large pot over medium heat. Once cooked, drain and return to the pot.
2. Add onion, carrot, celery, garlic and saute for 10 minutes.
3. Add remaining ingredients (except pasta), and simmer for 1 hour.
4. About 50 minutes into simmer time, cook the pasta in a separate pot in nicely salted water. Cook until slightly firmer than al dente as the pasta will continue to cook in the soup (about 6 minutes).
5. Add two ladles of the salted pasta water to the soup and then drain the pasta.
6. Add the pasta to the large pot of soup. Simmer for 5 to 10 minutes and serve with freshly grated parmesan. (Honestly, I was out of parm and ended up using some shredded mozzarella.)
Enjoy!

Turkey Pasta E Fagioli
- 1 pound lean ground turkey breast
- 1 small sweet onion diced
- 3 carrots peeled and diced
- 3 stalks celery chopped
- 3 cloves garlic minced
- 2 14.5-oz cans diced tomatoes and garlic
- 1 15-oz can cannellini beans drained
- 1 15-oz can great northern beans drained
- 1 15-oz can tomato sauce (I actually used about 3/4 of a jar of marinara, because that's what I had on hand and it was just fine).
- 1 tbsp white vinegar
- 1 1/2 tsp salt
- 1 tsp oregano
- 1 tsp basil
- 1/2 tsp black pepper
- 1/2 tsp thyme
- 1/2 pound ditali pasta (I actually couldn't find ditali, so I used ditalini. Same shape, just the smaller version).
Directions
1. Brown the ground turkey in a large pot over medium heat. Once cooked, drain and return to the pot.
2. Add onion, carrot, celery, garlic and saute for 10 minutes.
3. Add remaining ingredients (except pasta), and simmer for 1 hour.
4. About 50 minutes into simmer time, cook the pasta in a separate pot in nicely salted water. Cook until slightly firmer than al dente as the pasta will continue to cook in the soup (about 6 minutes).
5. Add two ladles of the salted pasta water to the soup and then drain the pasta.
6. Add the pasta to the large pot of soup. Simmer for 5 to 10 minutes and serve with freshly grated parmesan. (Honestly, I was out of parm and ended up using some shredded mozzarella.)
Enjoy!

Friday, January 4, 2013
Twenty Thirteen
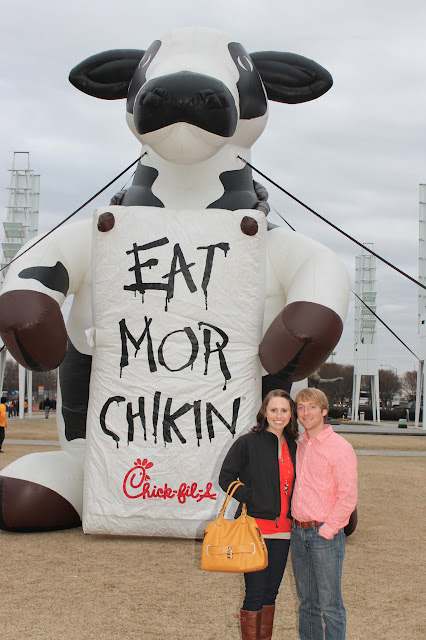
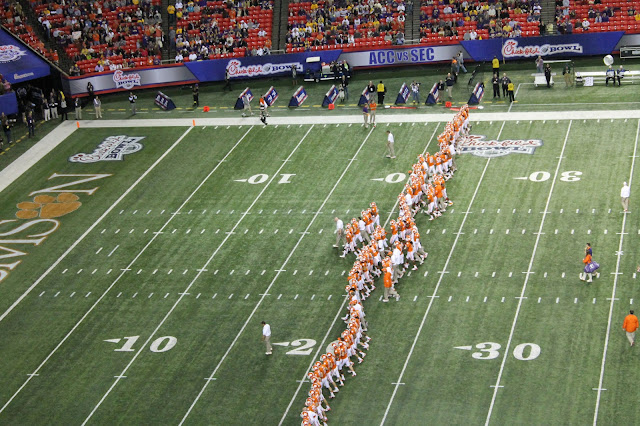
I prefer that to "two thousand thirteen". I'm honestly not sure which is correct... but either way, here we are. We rang in the New Year with a Clemson win at the Chick-fil-A Bowl against LSU.


Lastly, as I'm typing this-- it is January 4th and I am in Branson, MO at Dustin's annual K-Life Conference. I can't say that I have been looking forward to this trip, as the memories of last year still weigh heavily on our hearts. January 4, 2012 was our due date with our first baby and it was also on this date that we lost our second little one. If you are new to the blog, you can read more about our story here. So as I sit here one year later, there is a bittersweet mix of emotions. Yes, there is sadness and hurt as I think about what it was like the last time we were here or the thought that we'd be celebrating baby's first birthday. But there is also hope. I'm able to look back over the road we've traveled and see that God has been there all along. He has carried us, heard our cries and provided comfort. He knows our hearts better than we do and draws near to us with unfailing love.
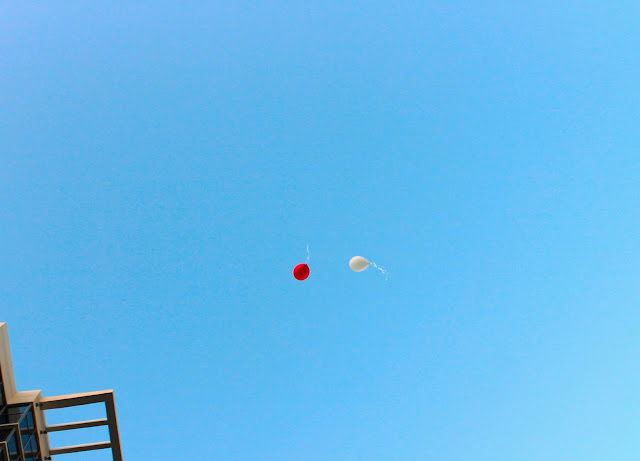
This morning, we woke up early and released two balloons outside the hotel. To us, this symbolized our hearts going out to our babies. But it is also a reminder that our children are not ours to begin with-- whether they are here in our arms or with Jesus. We must hold them not with fists tightly closed, but with open hands-- knowing that they first belong to their Heavenly Father. So... our dear babies- we miss you every day. We know there will be a day that we will finally get to meet you. Until that time, you have each other and our Heavenly Father. We love you very much. Love, Mom and Dad.


We met up before the game with Dustin's brother and some of his friends for lunch.

This is how the husband expends his "pre-game" nerves.


Lastly, as I'm typing this-- it is January 4th and I am in Branson, MO at Dustin's annual K-Life Conference. I can't say that I have been looking forward to this trip, as the memories of last year still weigh heavily on our hearts. January 4, 2012 was our due date with our first baby and it was also on this date that we lost our second little one. If you are new to the blog, you can read more about our story here. So as I sit here one year later, there is a bittersweet mix of emotions. Yes, there is sadness and hurt as I think about what it was like the last time we were here or the thought that we'd be celebrating baby's first birthday. But there is also hope. I'm able to look back over the road we've traveled and see that God has been there all along. He has carried us, heard our cries and provided comfort. He knows our hearts better than we do and draws near to us with unfailing love.
This morning, we woke up early and released two balloons outside the hotel. To us, this symbolized our hearts going out to our babies. But it is also a reminder that our children are not ours to begin with-- whether they are here in our arms or with Jesus. We must hold them not with fists tightly closed, but with open hands-- knowing that they first belong to their Heavenly Father. So... our dear babies- we miss you every day. We know there will be a day that we will finally get to meet you. Until that time, you have each other and our Heavenly Father. We love you very much. Love, Mom and Dad.


Monday, December 31, 2012
Christmas 2012
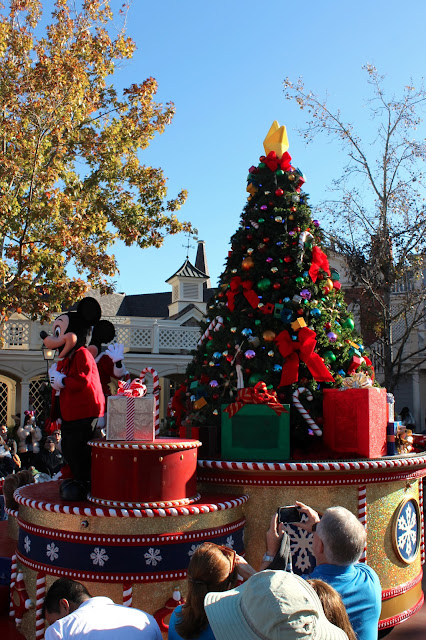
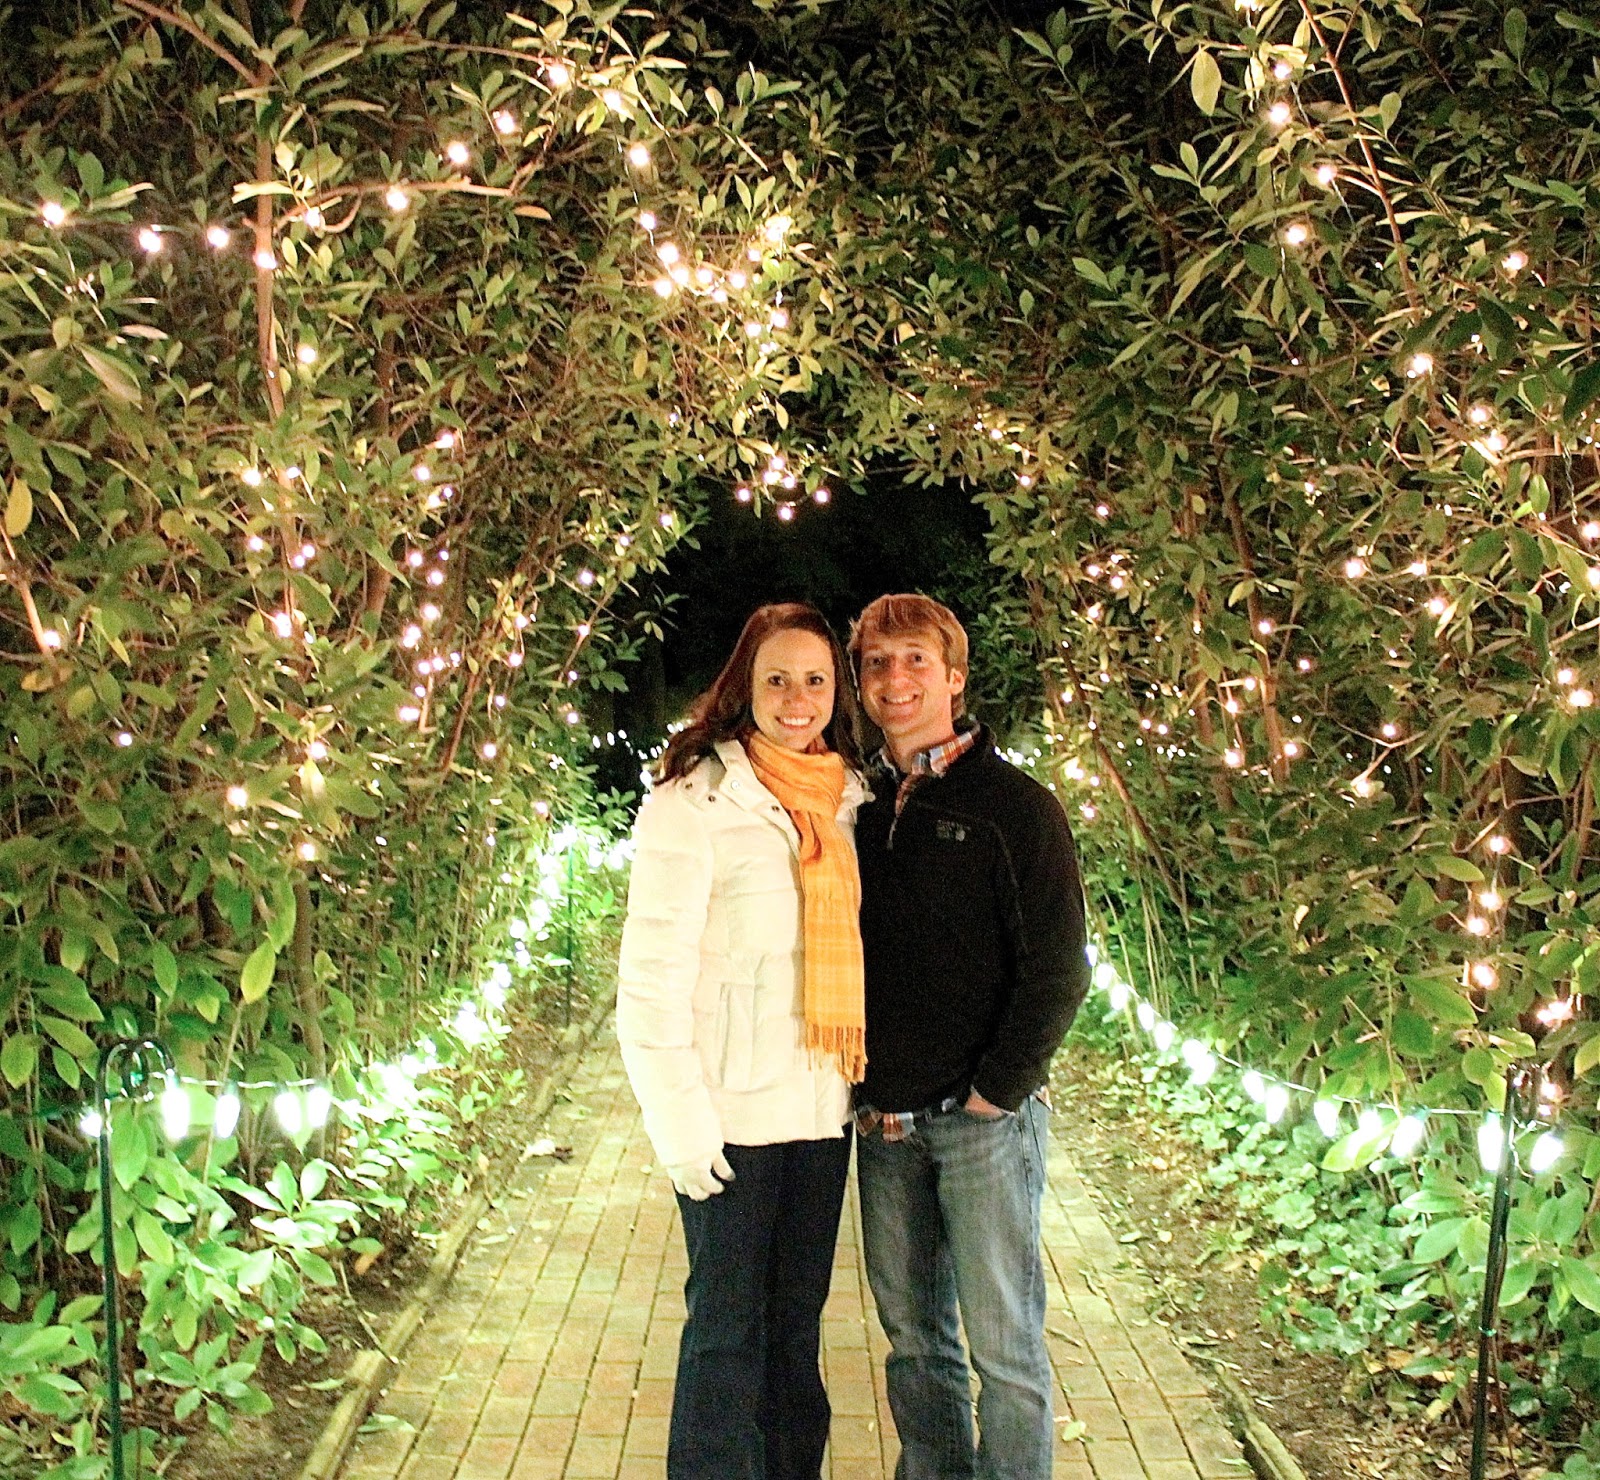
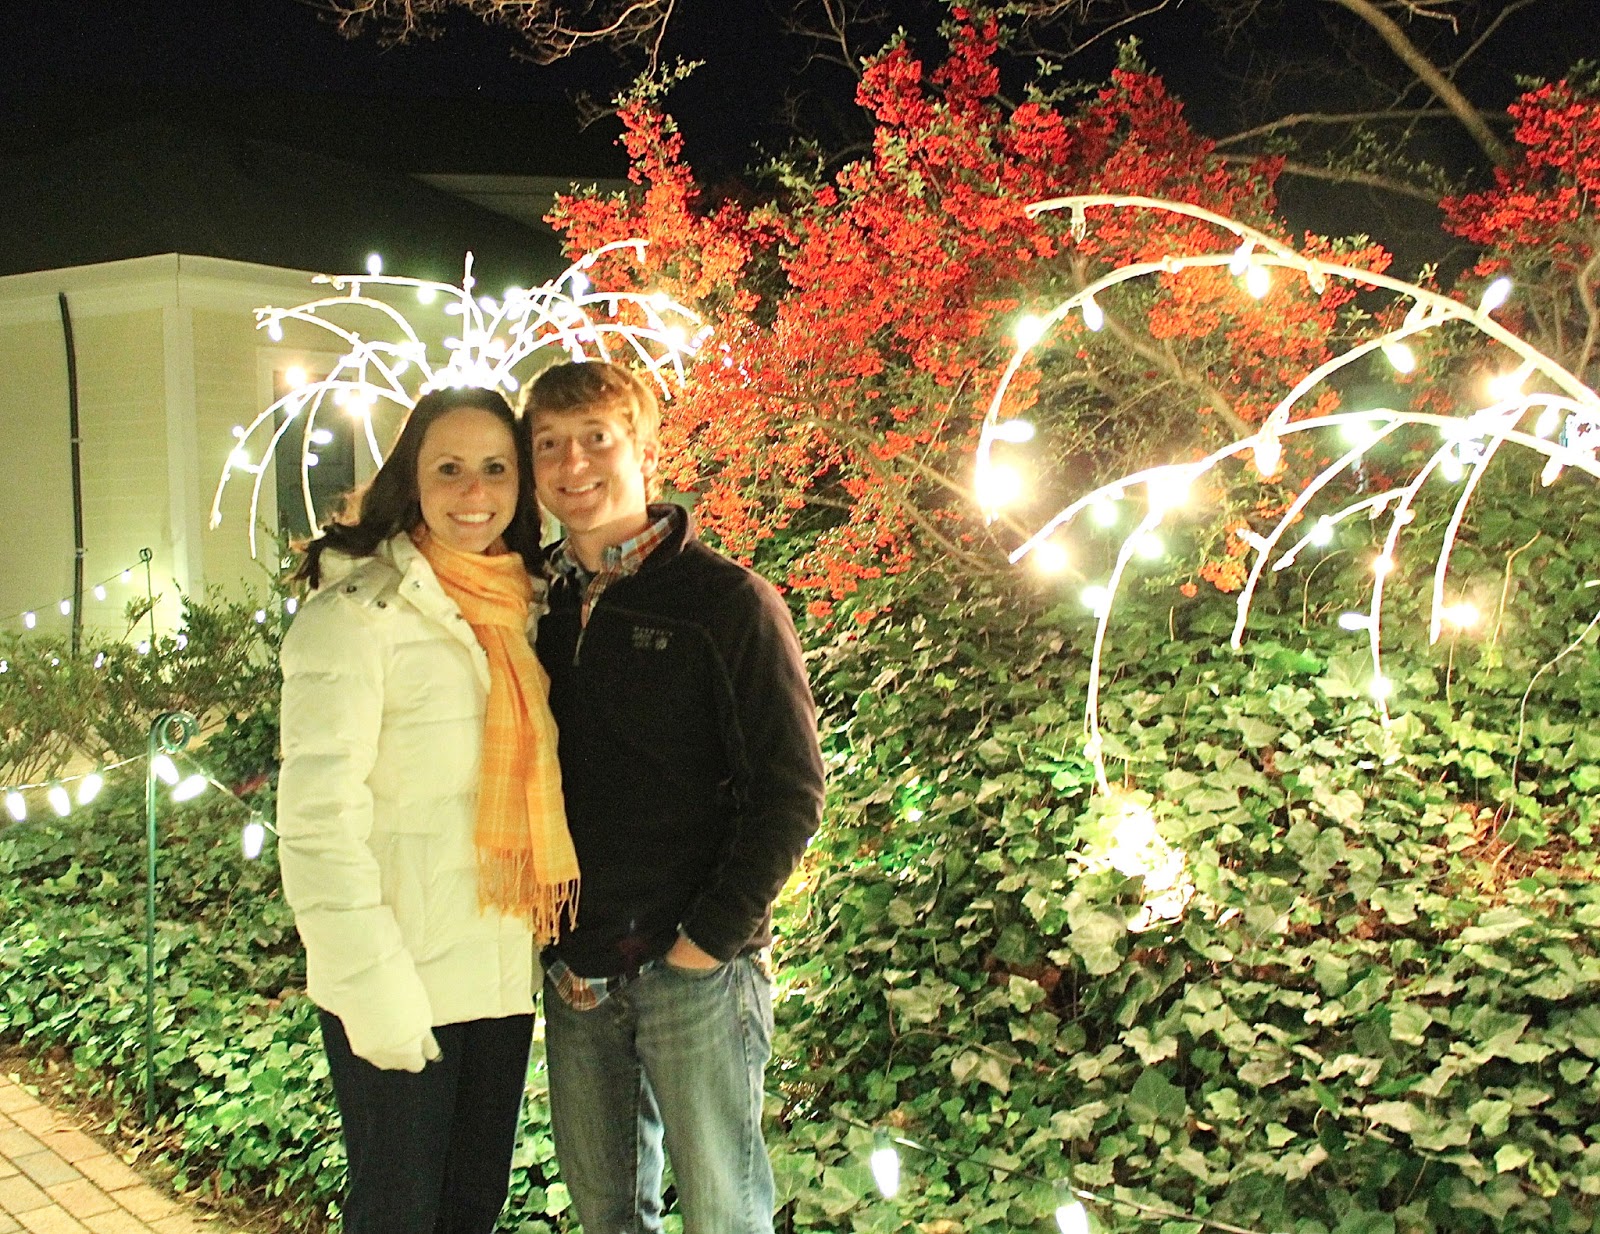
We were so thankful to be able to celebrate Christmas with both sides of our family this past week in Aiken and down in Orlando. Here are some pictures from our week...









I was so excited to spend some time with this lovely lady. Rachel was my maid of honor in our wedding and we have been friends since high school.



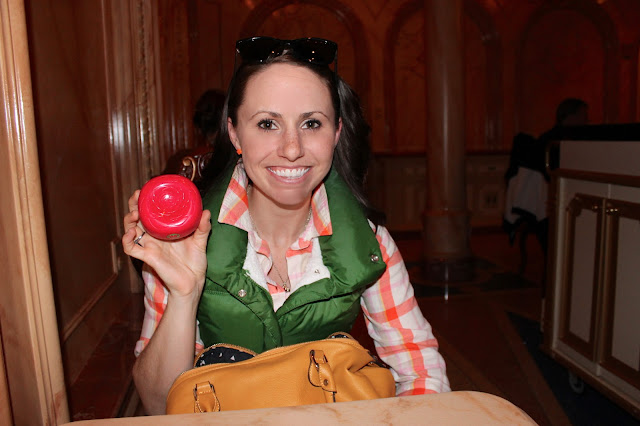
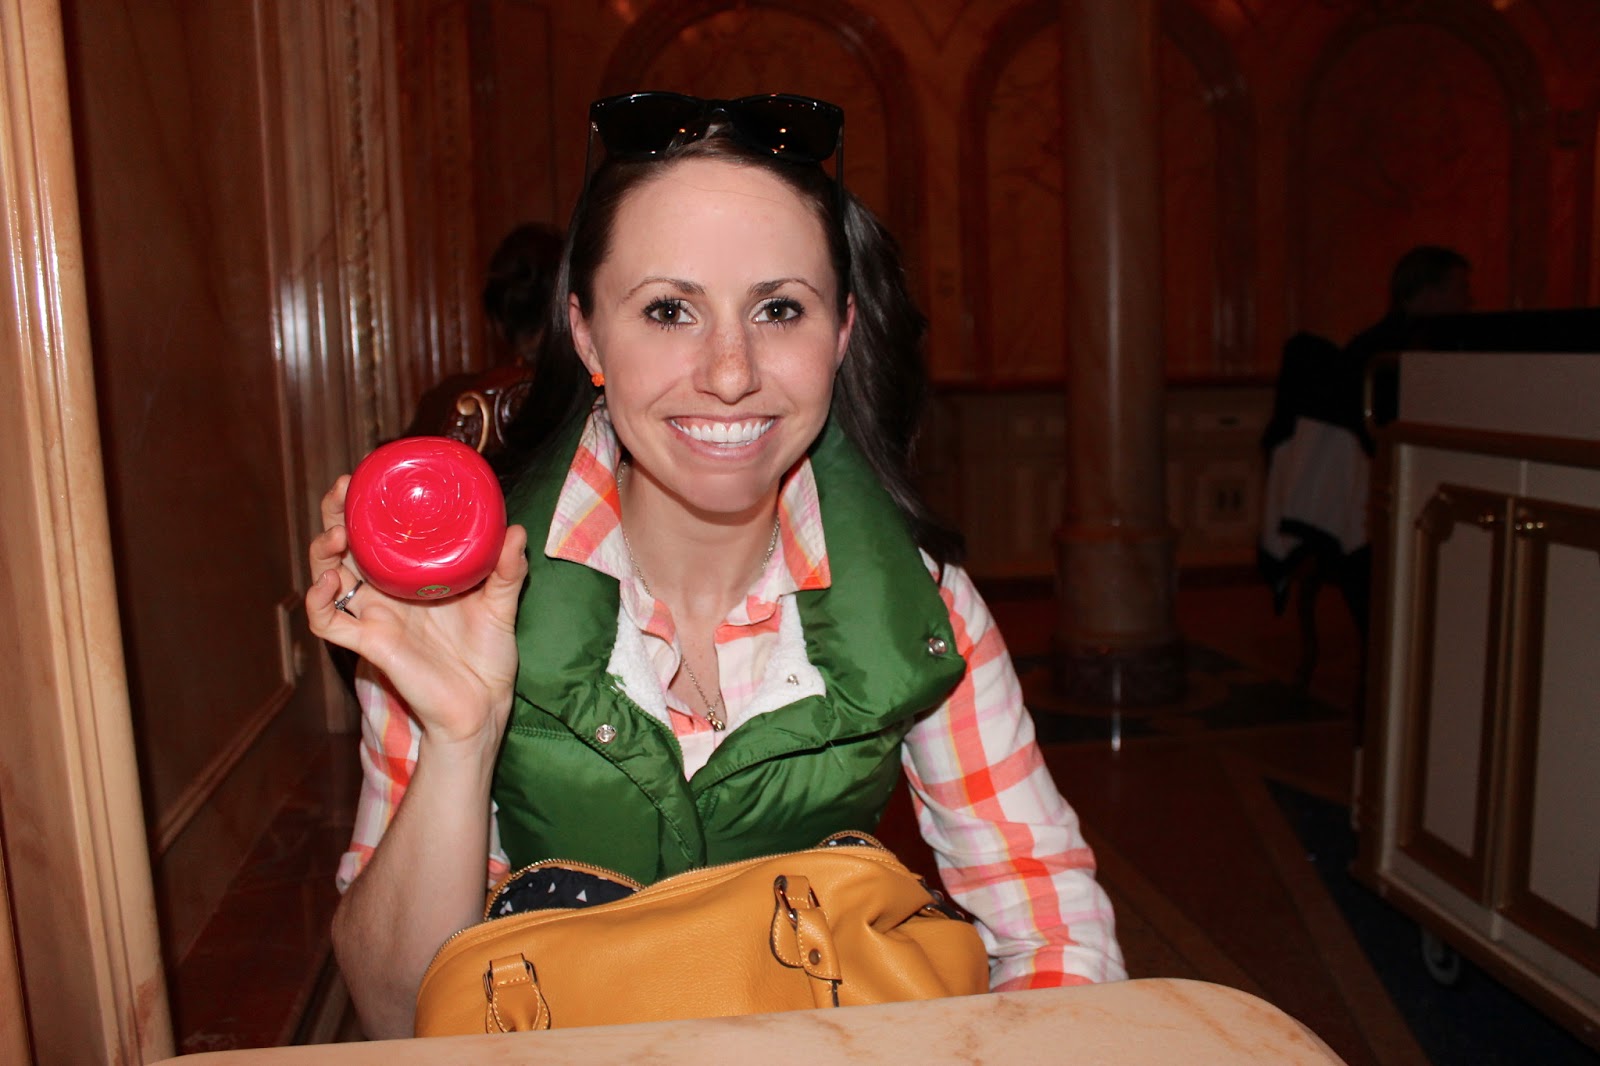
We had lunch at the new restaurant in Fantasyland that has the coolest concept. You get this rose when you order at the counter and it has a GPS tracker in it, so they can find you in the large ballroom. It also has your party size stored in it so they know what size tables are available and you never have people wandering around looking for open spots. Love. Disney.

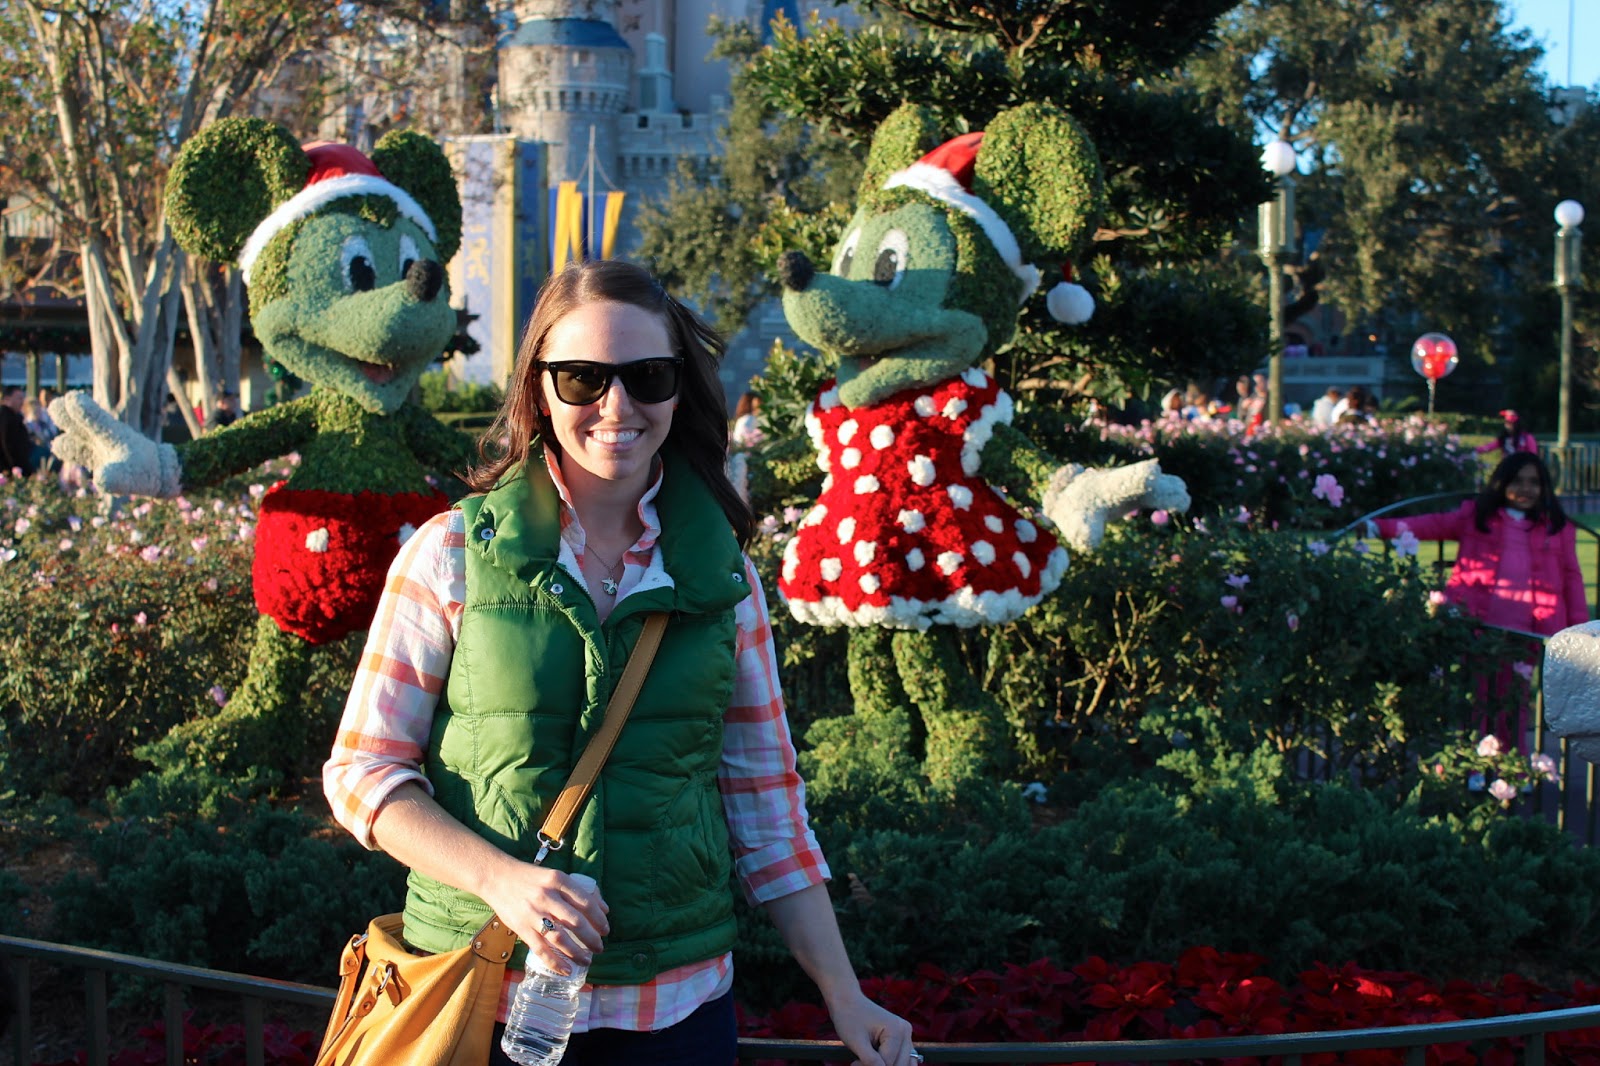


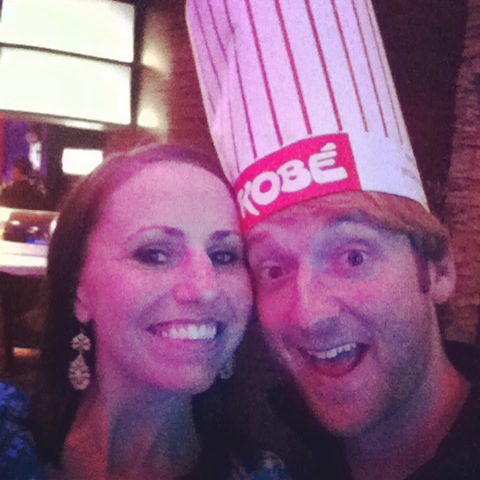
We went to dinner at a Japanese steakhouse for my birthday and husband enjoyed my hat and birthday song a bit more than I did.
Thursday, December 27, 2012
Wooden Name Sign
Have I mentioned that I now work part time? Kidding... but seriously... I've been doing some serious baking and crafting this Christmas season to fill some of my time. I saw this idea on Pinterest and thought I'd give it a try. They were surprisingly easy and came out pretty good if I do say so myself. I made one for Dustin's parents and my parents for Christmas. This idea originally came from here.
Here is what you'll need:
- 3-4 ft piece of wood (I used a 1x10, because I wanted them to have the option to hang it on the wall or lean it against something. If you get a 2x10, it will stand alone on a dresser, table or mantle.) I bought an 8ft piece and had it cut in half so each sign was 4ft.
- Spray paint (whatever colors you prefer)
- Cheap 4x6 picture frames (color does not matter!)
- Hot glue gun
- FREE printable letters found here


Here is what you'll need:
- 3-4 ft piece of wood (I used a 1x10, because I wanted them to have the option to hang it on the wall or lean it against something. If you get a 2x10, it will stand alone on a dresser, table or mantle.) I bought an 8ft piece and had it cut in half so each sign was 4ft.
- Spray paint (whatever colors you prefer)
- Cheap 4x6 picture frames (color does not matter!)
- Hot glue gun
- FREE printable letters found here
Step 1:
Unwrap your frames and remove the glass and backing and set aside.

Step 2:
Outside, lay out the frames and your wood on drop cloths (or anything really) to prepare for painting. Spray paint both the frames and wood with the colors of your choice. I did two coats on each, allowing about 25 min for drying in between coats.


Step 3:
While your frames and wood are drying, remove the stands from the frame backings that you've already removed from the frames. (The piece that folds out from the back of the frame).
Step 4:
Once your frames are dry (about 2 hours to be safe), replace the glass, printed letters and backing for each frame.
Step 5:
Once the wood is dry (also about 2 hours to be safe). Hot glue the assembled frames to the wood. This step was actually the most tedious for me, because of my OCD-ness. I used a tape measure and a level to make sure the letters were evenly spaced and centered. Here is the finished product. This would make a great gift for anyone or decoration for your own wall.


Subscribe to:
Posts (Atom)